Bathroom Privacy Guide – Windows, Ideas & More in 2025
In home design, bathroom privacy often gets overlooked in favor of more glamorous elements like tile choices or statement tubs.
Read our extensive guide on installing a freestanding bathtub using the EZ-drop in drain.
Jump to a specific section:
Manufacturers of freestanding bathtubs strongly recommend hiring professionals to install tubs, but handy homeowners can install their own units. It calls for some research and preparation, and a full understanding of the process before work begins, but many homeowners have happily installed their own freestanding bathtubs and rewarded themselves for their work with a long, well-deserved soak.
Before purchasing a freestanding bathtub, do your homework. Check state, county, and local building codes to ensure a freestanding bathtub is in compliance with regulations. If your property is part of a homeowner’s association, read carefully through the CC&Rs and speak with the board, if needed, to obtain any necessary permissions.
A structurally sound building built to code will support the weight of a fully filled bathtub, which is roughly equivalent to the weight of five adults. If your home is particularly old, or if you’ve experienced problems with the flooring in the past, you may wish to consult with a home inspector, engineer and/or architect before buying your tub. Having a professional check your floor and give you the green light before moving ahead can go a long way to assuage concerns you may have about your floor’s condition.
Once you have cleared all the above, order your freestanding bathtub of choice. This is also the time to consider your options for filling the tub. Will it be a freestanding fill spout rising from the floor, a curved waterfall spout mounted in a wall, a ceiling-mounted rain shower head, or a freestanding faucet? Choose which you’d like to incorporate, and plan for the plumbing installation for those fixtures in concert with your freestanding bathtub installation
When your bathtub unit arrives, ensure it’s the make and model you ordered, and confirm that all included accessories are accounted for. Use your hands and eyes to inspect the entire unit, checking for any cracks, chips, scratches, or other defects. If any are found, do not install the unit, but contact the manufacturer immediately.
Have ready all the tools and supplies needed for the job and follow these step-by-step directions:
If it seems time for the professionals to step in at any point, do not hesitate to avail yourself of their expertise–your bathtub and your house will thank you.
This brief video provides a quick look at the installation steps to installing our BW-01 L freestanding bathtub.
Do not use your new tub for at least 24 hours after the installation. Immediately address leaks or other problems, should they arise. Closely adhere to the manufacturer’s cleaning instructions to maintain the beautiful luster on your new freestanding bathtub for years to come. And most importantly: enjoy your new bathtub. Visit our website to view all of our luxury bathtubs.
Consider these additional points to maintain the health of your tub:
Freestanding bathtubs can be quite expensive, so you might have some questions associated with the install or steps that you may not be sure of:
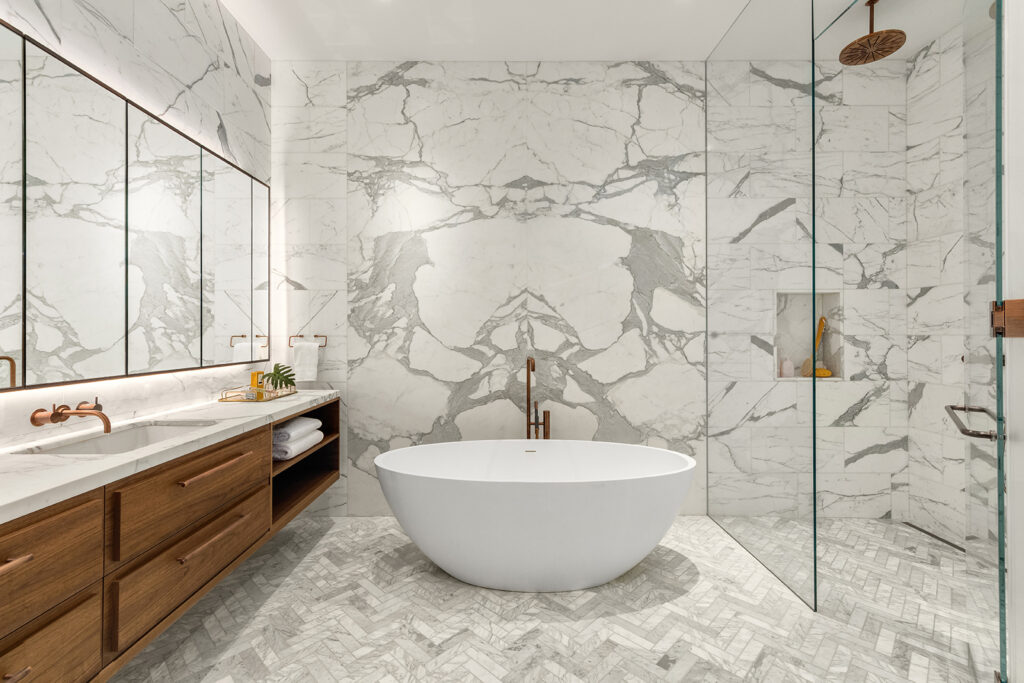
The benefit of a freestanding tub is that it can be placed anywhere in your bathroom. However, placing it in the center of your bathroom allows the most convenience as you can comfortably enter and exit without being too cramped. In addition, this also keeps the tub free from any dust or potential water issues.
You want at least 6 inches of extra space from the wall to your tub. This prevents you from being too cramped but also prevents moisture from being trapped in your walls or tub.
Almost any material is fine, so long as it is stable and won’t react to moisture. Your floor needs to be stable enough to support a full freestanding tub, so inspect it thoroughly before installing. For the wall, consider glass brick, wainscot, and mildew-resistant paints.
Yes, you can install a shower with a freestanding tub to add more versatility to your bathtub.
A silicone-based sealant secures your bathtub. Once it is been set, lubricant is applied to the tub to ensure that it is fully secure, even when full.

Eric is the founder and president of Badeloft USA. He has been the president of Badeloft’s US division for over ten years and oversees all marketing and branding aspects of Badeloftusa.com.
His expertise lies in small business development, sales, and home and bathroom industry trends and information.
Contact us with any business related inquiries.

Free material samples and tub templates

In home design, bathroom privacy often gets overlooked in favor of more glamorous elements like tile choices or statement tubs.

A well-designed bathroom is more than just a functional space—it’s a sanctuary. In today’s fast-paced world, luxury bathroom remodels have

A recent study by Badeloft USA identified the most underrated cities for real estate investments in the US by analyzing safety, affordability,

Toilets may seem like a one-size-fits-all fixture, but they come in various sizes and configurations to suit different spaces and
Fill out the form below to request a free material sample
"*" indicates required fields
"*" indicates required fields
"*" indicates required fields