Deep Bathtubs Buying Guide 2025 -Photos & Examples
Deep bathtubs are designed for full-body immersion, offering greater depth and a more luxurious soaking experience than standard tubs. Perfect
Bathtub fixtures looking a little faded and outdated? Looking to update the look of your bathtub without spending a great deal of money and time? A bathtub trim kit might just be the perfect fit for you and with our easy to follow guide, you can replace your bathtub’s trim in no time.
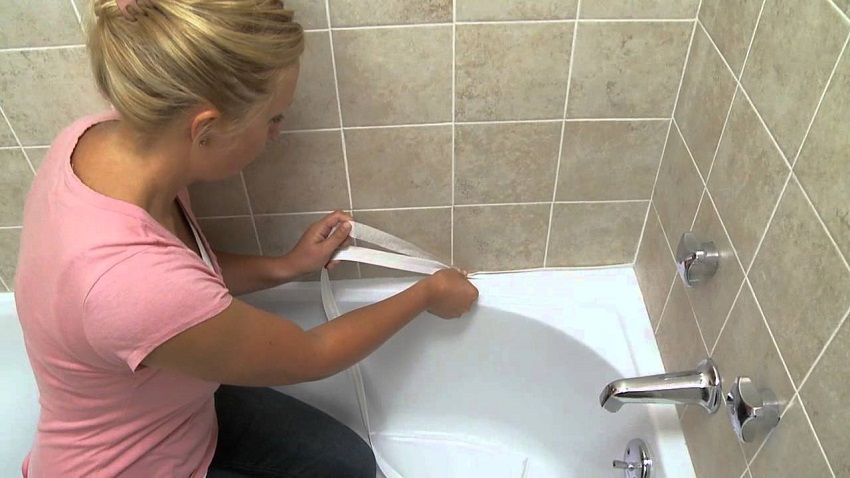
A bathtub trim refers to the seam between the wall of your bathtub and bathtub. This seam needs to be filled in order to prevent debris and water mainly from leaking in between the cracks, which would lead to deterioration down the road.
Another important note when purchasing a trim kit is that “Bathtub Trim” is also a catch-all phrase for other cosmetic aspects of your bathtub namely the faucet coverings as well as the temperature control valves of your shower.
A new bathtub trim is important to maintain the health of your bathtub and bathroom. The trim is the only barrier between your bathtub and other unwanted elements such as excess water and grout. If your trim is worn away and the area is exposed, mildew and other unwanted solutions will eventually deteriorate and damage your bathtub/bathroom.
To prep your bathtub for new trim, you need a clean surface as caulk adheres to a surface best when clean. So first you want to remove the old caulking, then apply a mild bathroom cleaner in combination with water to fully clean the old area, then allow the solution to dry completely before you proceed with the next step.

Before you start adding the bathtub trim on your own, make sure you read the steps below, as well as the instructions on the product you’re applying.
Before you begin, it is important to clean your bathtub thoroughly as caulking does not adhere properly if the surface is dirty. So, using a cleaning solution, it is important to vigorously clean the surfaces and let it dry properly before applying caulk.
Another important aspect of making sure your bathtub trim adheres properly is to make sure you do not apply too much caulk. Before beginning, it is important to cut the appropriate size opening, such as a ¼ or ⅜ inch opening for bathroom trim.
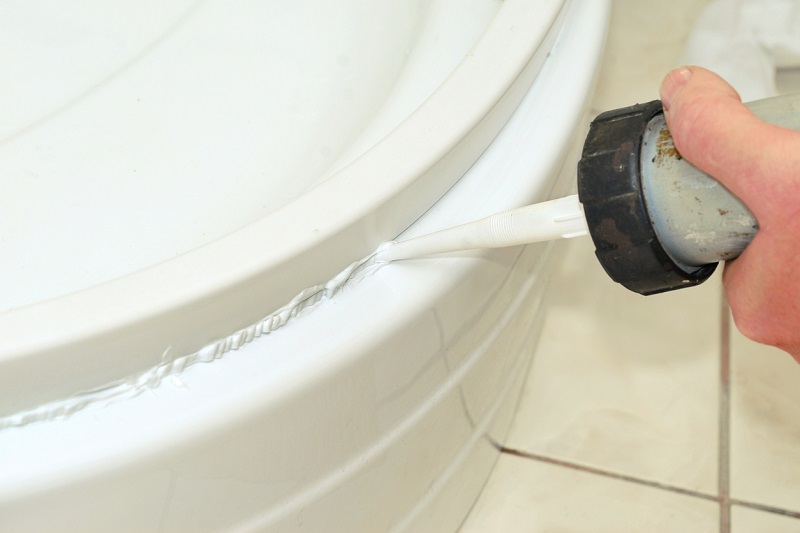
Place the caulk applicator against the shower or bathtub trim at a 45 degree angle. Now, using this same technique, apply a small bead of caulk all around the trim of your bathtub. Once all of it is fully covered, smooth it out and let the caulk dry.
Once the caulk has fully dried and the solution is fully bonded, you can now paint or apply any aesthetic elements you want over the caulk.
There are two primary choices when it comes to choosing caulk-pure silicone and silicone composites. You will need to know a few things about each of these two types of caulk to make an informed decision.
Pure silicone is a highly durable caulk that is waterproof, rot resistant, and will not crack under high temperatures with a longevity of at least 40+ years.
However, pure silicone is more annoying to remove and doesn’t take to paint very well.
Silicone composite caulk, on the other hand, is much easier to apply and remove, and is cheaper than pure silicone. It can be painted over with ease, but the trade off is that it is much less durable and will crack with higher temperatures. Silicone composite caulk will usually last anywhere from 10-20 years at most.
If you parts of your bathtub are looking worn-down or fading, you have two options. You can replace your bathtub, which is a wholly expensive and time-consuming ordeal, or alternatively, you can look at bathtub trim kits.
A bathtub trim kit is a perfect way to replace some fading aspects of your bathroom, such as a chipped faucet or discolored temperature control valves. They are very inexpensive, starting at around $30 and capping out around $200 for more expensive fixtures and as such are a cost-effective way to breathe new life into your existing bathroom.
Keep in mind that you’ll need to buy silicone caulk and other trimming tools separately. Before you start, make sure you have a utility knife and wall putty knife, bathroom cleaner, and some clean clothes.
A kit comes with several decorative elements at a fairly inexpensive price point. However, in short, you will usually get what you pay for. A trim kit is a great alternative to a new shower head and valves, but it does not replace a more thorough remodel job. A kit is also an inexpensive and straightforward DIY project, which means just about anyone can do it.
Whereas a professional replacement of bathroom fixtures will, of course, be much more time-consuming and wholly more expensive. For the purposes of adding value to your home, a Professional fixture replacement is recommended, but for your everyday bathroom, just buy a trim kit and enjoy your new fixtures.
Before you apply a bathtub trim, it is very important that you understand which caulk is right for your bathtub, as stated previously, some are more sensitive to temperature changes than others.
In general, Pure Silicone should be used for projects that you have little desire to replace or touch, where Silicone Composites can be used for projects you look to replace in a few years. So bear that difference in mind before caulking your new trim.
The shower’s visible elements are referred to as the trim. These are the showerhead, tub filler, handles, and knobs. Installed over the shower valve, the trim controls the shower system in tandem with the valve.
First, use water and liquid detergent to thoroughly clean the seam surface. Allow it to dehydrate. Next, evenly apply silicone caulk along the surface of the existing seam using a caulk tube. After applying the caulk, smooth it out and allow it to dry. This aids in stopping water leaks and filth.
Despite your best attempts to keep it clean and polished, the tub controls and spouts can eventually tarnish and seem dull. Replacing the trim is a simple solution to the issue. You can replace almost any tub spout by simply unscrewing the old one and putting on the new one.

Eric is the founder and president of Badeloft USA. He has been the president of Badeloft’s US division for over ten years and oversees all marketing and branding aspects of Badeloftusa.com.
His expertise lies in small business development, sales, and home and bathroom industry trends and information.
Contact us with any business related inquiries.
Free material samples and tub templates
Deep bathtubs are designed for full-body immersion, offering greater depth and a more luxurious soaking experience than standard tubs. Perfect
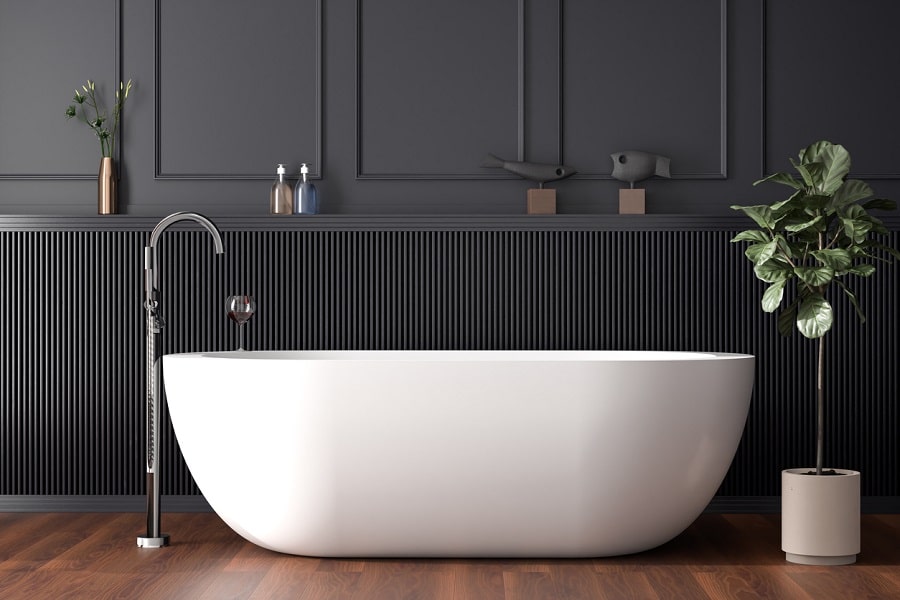
In 2025, bathtubs will be more than functional fixtures—they’ll be bold design statements that define bathroom aesthetics. From timeless white
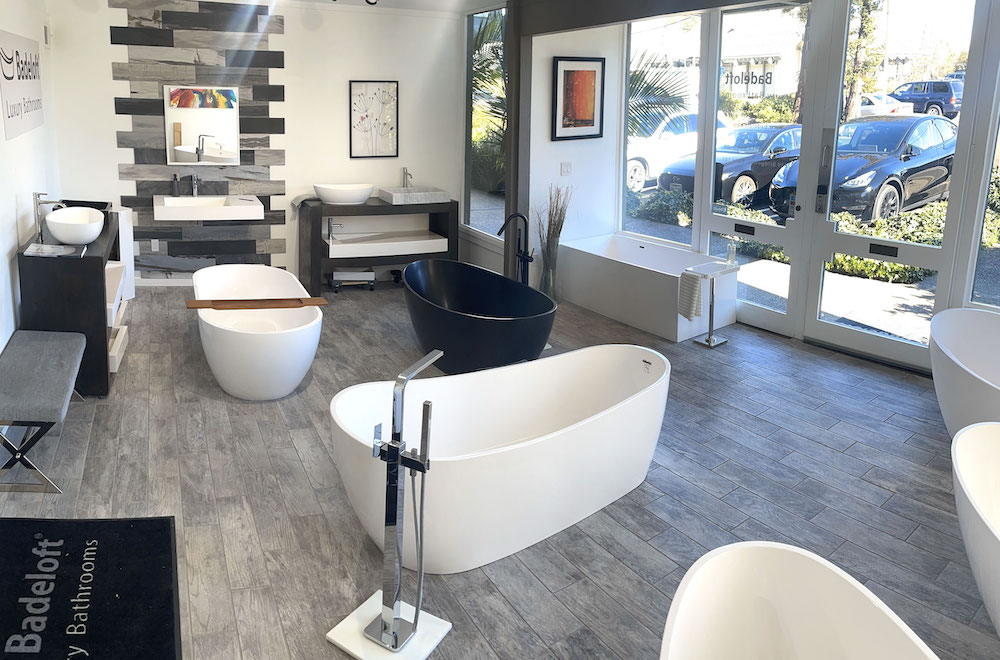
The San Francisco Bay Area is home to a variety of top-rated bathtub shops offering everything from modern, luxury designs
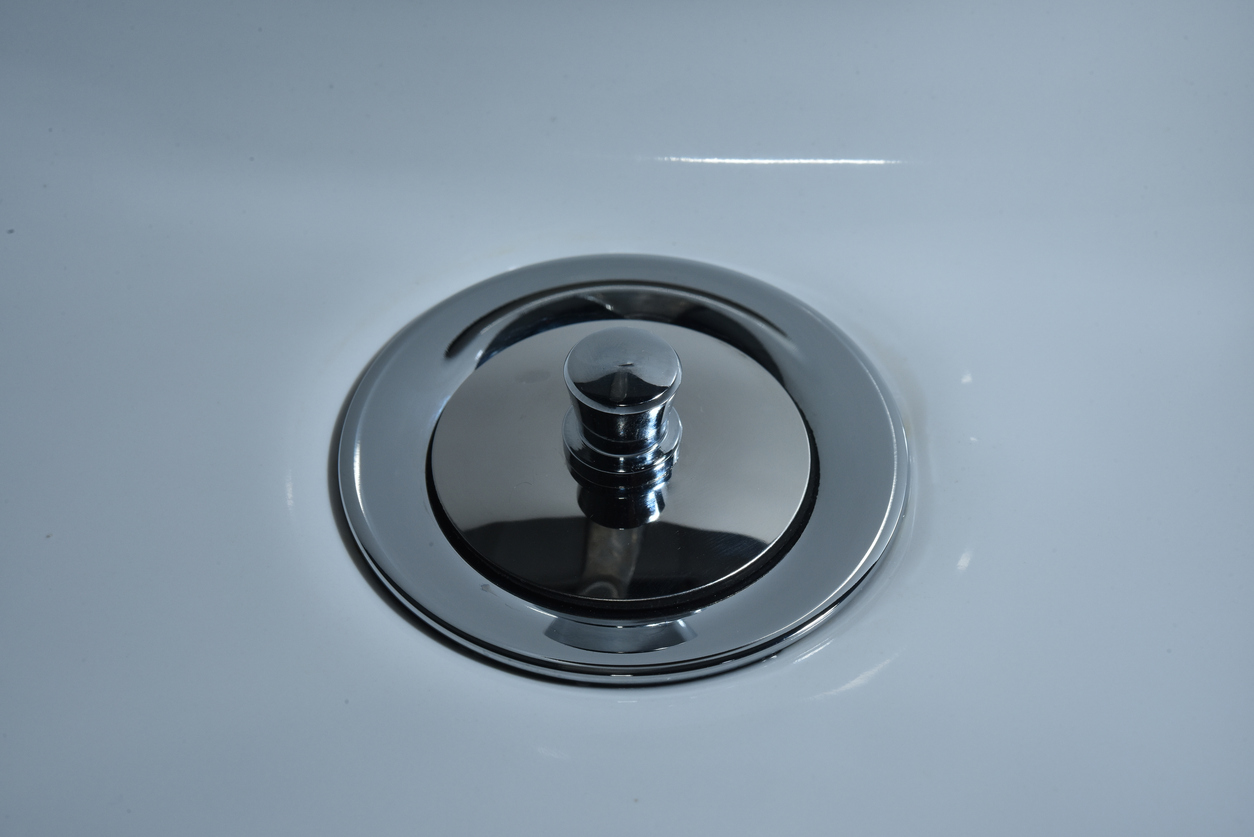
Choosing the right bathtub drain stopper is essential for creating a comfortable and functional bathing experience. With over 20 common


Fill out the form below to request a free material sample
"*" indicates required fields
"*" indicates required fields
"*" indicates required fields